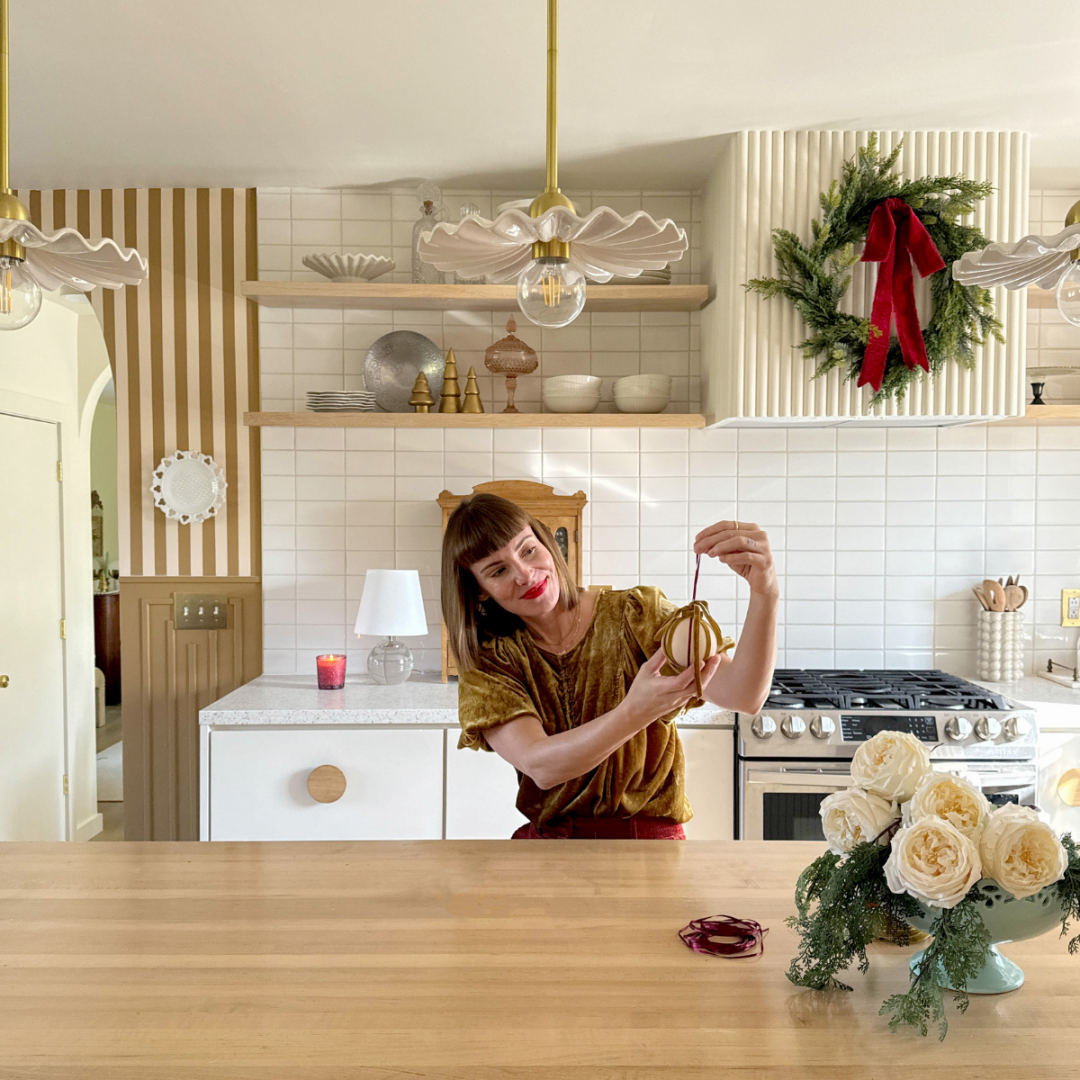
This holiday season, we’re unwrapping something extra special just for you—a delightful DIY from our #MyMitzi bestie, Brit Dot Design! Brit’s take on ribbon-adorned ornaments is inspired by the vintage crafts she loved as a kid. Picture cozy nostalgia with a chic, modern twist—it’s the perfect way to add a personal (and oh-so-pretty) touch to your tree.
Ready to get your craft on? Follow Brit’s step-by-step guide to create your own festive, one-of-a-kind ornaments!
Materials Needed:
- Clear or solid DIY ornaments (available at craft stores)
- Acrylic paint (any color you prefer)
- Silk and velvet ribbons in complementary colors and varying widths
- Superglue
- Scissors
- Paintbrush
Step 1: Prep Your Ornament
Remove the metal or plastic top of your DIY ornament. This will make it easier to paint and decorate. Use a clean, dry cloth to wipe the surface of the ornament, ensuring it's free of dust or residue.
Step 2: Paint the Ornament
Choose a paint color that matches your desired holiday aesthetic. Using a paintbrush, apply an even coat of paint to the ornament. Set it aside to dry completely. (Depending on the paint, this may take 1-2 hours. Apply a second coat if needed for full coverage.)
Step 3: Attach the Ribbons
Cut two types of ribbon—one silk and one velvet—in complementary colors. Adjust the length based on your design preference. Starting with the wider ribbon, wrap it around the painted bulb, securing it in place with small dots of superglue at several points. This ensures it stays in place and doesn’t slip. Repeat the process with the thinner ribbon, layering it over or alongside the first for added texture and depth.
Step 4: Reattach the Top
Once the ribbons are securely glued, reattach the ornament’s top piece. This will help hold the ribbons in place while adding a finished look. If desired, glue a small piece of velvet ribbon around the ornament’s neck for a polished touch.
Step 5: Add a Bow and Hanging Loop
Tie a decorative bow using the velvet ribbon and glue it to the front of the ornament near the top. Use the thinner ribbon to create a loop for hanging. Secure the ends with glue or tie them around the ornament’s top.
Step 6: Customize and Display
Experiment with different ribbon colors, textures, and patterns to create ornaments that reflect your style. Hang your new creation on the tree and admire your handiwork!
Share your creations and ideas by tagging us at @mymitzi & @britdotdesign